
The Light Load Phone Pouch
What can you create with a basket full of leftover yarn?
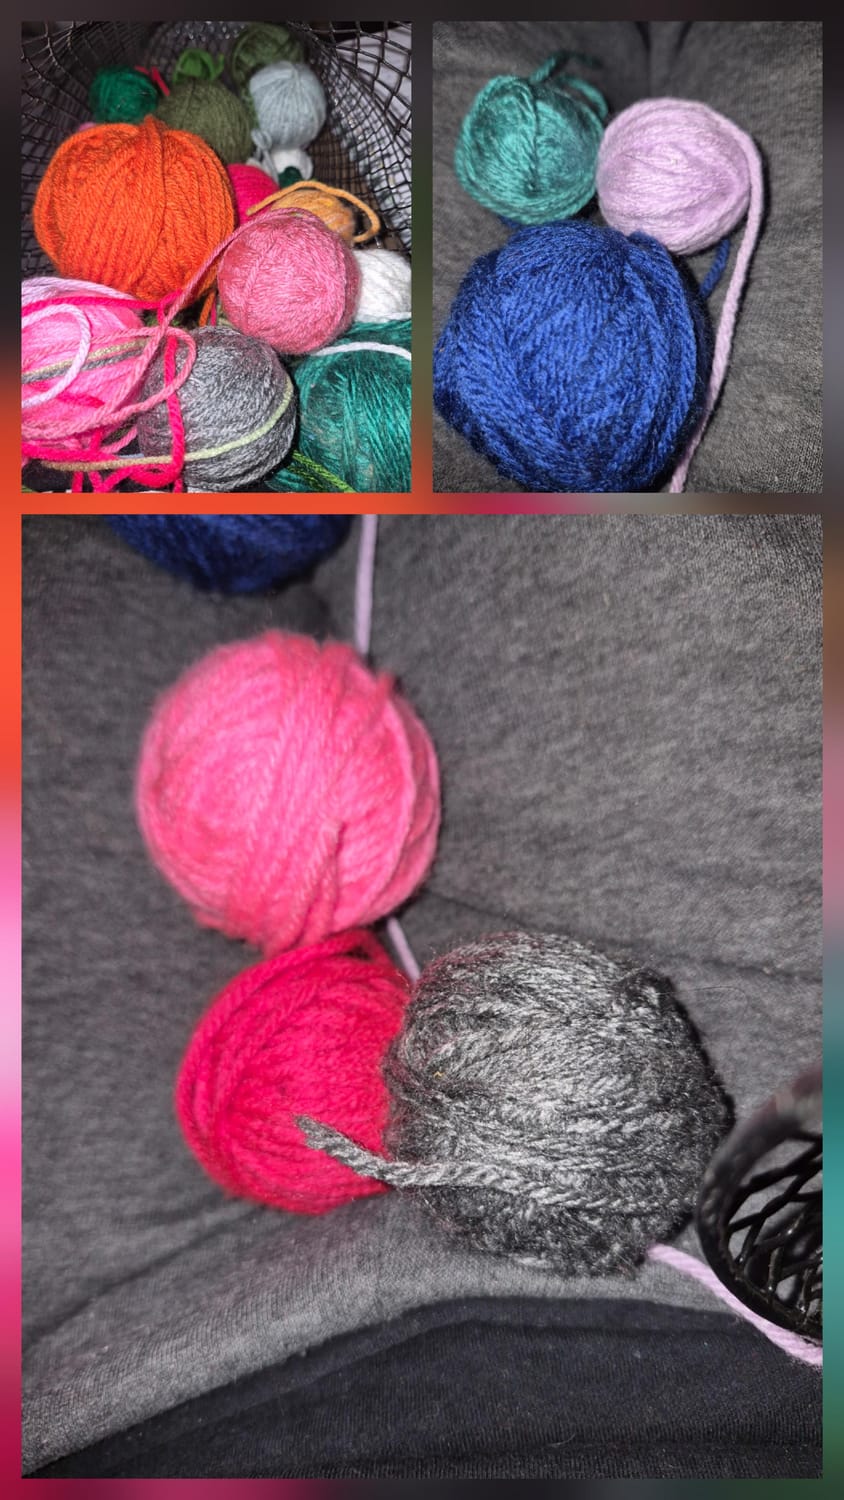
Join me behind the scenes as I design, prototype, and refine a functional crochet phone pouch made entirely from scrap yarn. Throughout this design journey, you'll see the creative process from the very first idea to the finished project while learning how thoughtful design can turn simple materials into something both beautiful and useful.
Together we'll explore:
Designing with function in mind before making the first stitch.
Creating and testing a built-in card slot.
Measuring your phone for the perfect fit.
Using the Rule of Three to make scrap yarn color combinations look intentional and boutique.
Refining the final design through testing and feedback.
At the end of the series, you'll be able to download my rough pattern notes, create your own version, and share it with The Hook Nook Community. Whether you follow my design exactly or make it uniquely yours, this project is a wonderful reminder that beautiful things can come from the yarn you already have.
Let's turn those scraps into something you'll actually use—one stitch at a time.
The Design
Follow along as I design, prototype, and polish a functional phone pouch with a built-in card slot.
Lesson 1: The Design Concept (The "Why")
Key Takeaway: Designing for function first.
Lesson 2: Prototyping & The "Card Slot" Secret
Action Step: "Measure your own phone and add 1/2 inch for seam allowance."
Lesson 3: Color Theory with Scraps
Always remember:
"Rule of Three" (one neutral, one bright, one deep) to make scraps look intentional.
Key Takeaway: How to make "scrappy" look "boutique."
Lesson 4: The Final Reveal & Feedback
The Pattern
Light Load Phone Pouch
A durable, textured carrier with an integrated card pocket.
Materials
Yarn: Cotton or a stiff acrylic (Worsted weight recommended for durability).
Hook: Size appropriate for your yarn (usually 4.0mm or 5.0mm).
Extras: 1 Button, 1 Keychain ring, tapestry needle.
Phase 1: The Pouch Body
The base is worked in a round to create a seamless bottom.
Foundation: Ch the width of your phone, plus 1.
Base Row: 2 sc in 2nd ch from hook. Sc in each st until 1 remains. In last st: 4 sc (this creates the curve). Rotate to work on the opposite side of the chain: Sc in each st across. 2 sc in the very first chain space. Join with sl st, ch 1.
Wall Rows 1–2: Sc in same st and every st around. Join with sl st, ch 1.
Transition Row: Ch 2, dc in same st and every st around. Join with sl st, ch 2.
Texture Rows (Ribbing): Dc in same st, FPDC in next st, dc in next st. Repeat from * around. Join with sl st, ch 2.
Note: Repeat this row until the pouch is about 1/2 inch shorter than your phone.
Finishing & Button Loop:
Sc in each st until you reach the center-back of the pouch.
The Loop: Ch enough to fit over your button (usually 10–15). Sc back into the same st.
Sc in remaining sts around. Sl st to beginning, tie off, and weave in ends.
Phase 2: The Card Pocket
Foundation: Ch 12.
Row 1: Dc in 2nd ch from hook and each ch across. Turn.
Rows 2–7: Ch 2, dc in same st and each st across. Turn.
Check fit: Stop when the pocket covers about 3/4 of a standard credit card.
Finish: Tie off, leaving a long tail (approx. 18") for sewing.
Phase 3: Assembly
The Button: Sew the button onto the front center of the pouch, aligning it with where the back loop naturally falls over the top.
The Pocket: Position the pocket on the front of the pouch (the button will actually sit inside or above the pocket area depending on your phone height). Using the long tail, sew the left, bottom, and right sides to the pouch body.
Pro Tip: Keep your stitches shallow so you don't sew the pouch completely shut!
The Keychain: Secure the keychain ring to the center-back near the top. For extra strength, crochet a small "tab" (4 sc for 2 rows) through the ring and onto the pouch.
Customization Idea
Since you are using FPDC, you can create a "Basketweave" effect by switching the FPDC and DC every 2 rows. This makes the case even thicker and more shock-absorbent.
To create a perfectly fitted pouch, we’ll use standard dimensions for these modern devices.
The following counts are based on Worsted Weight (Medium #4) yarn and a 4.0mm or 4.5mm hook. Using a slightly smaller hook than the yarn recommends is best for phone pouches—it makes the fabric denser and more protective.
📱 Phone Pouch Size Guide
Phone Model Height (approx.) Width (approx.) Starting Chain
iPhone 15 / Pro. 5.8 in (14.7 cm) 2.8 in (7.1 cm) Ch 11
iPhone 15 Plus / Max. 6.3 in (16.0 cm) 3.0 in (7.8 cm) Ch 12
Samsung Galaxy S24. 5.8 in (14.7 cm) 2.8 in (7.1 cm) Ch 11
S24+ / S24 Ultra. 6.4 in (16.2 cm) 3.1 in (7.9 cm) Ch 13
💳 The Card Pocket
Since credit cards are a global standard size (3.37" x 2.125"), you can use this set stitch count regardless of which phone you have.
Foundation: Ch 12.
Rows 1–6: Dc in 2nd ch from hook and each across. (11 dc).
Result: This creates a pocket roughly 3.4" wide. If your tension is loose, stick to Ch 11 so the cards don't slip out.
🛠 Pro-Adjustment Tips
The "Case" Factor: If your phone has a thick "Otterbox" style case, add +2 to the starting chains listed above. The FPDC (Front Post Double Crochet) ribbing in your pattern has some "give," but a bulky case needs extra room.
Height Check: * For the S24 Ultra/iPhone 15 Pro Max, you will likely need to repeat the texture rows until you have about 14–16 rows total.
For the standard S24/iPhone 15, 12–13 rows is usually the sweet spot.
Durability: Since you are adding a keychain ring, I highly recommend using Cotton yarn (like Lily Sugar 'n Cream). Acrylic yarn tends to stretch over time under the weight of a phone hanging from a bag or belt loop.
NOW: Download the rough pattern notes. Go make one, post it in the community
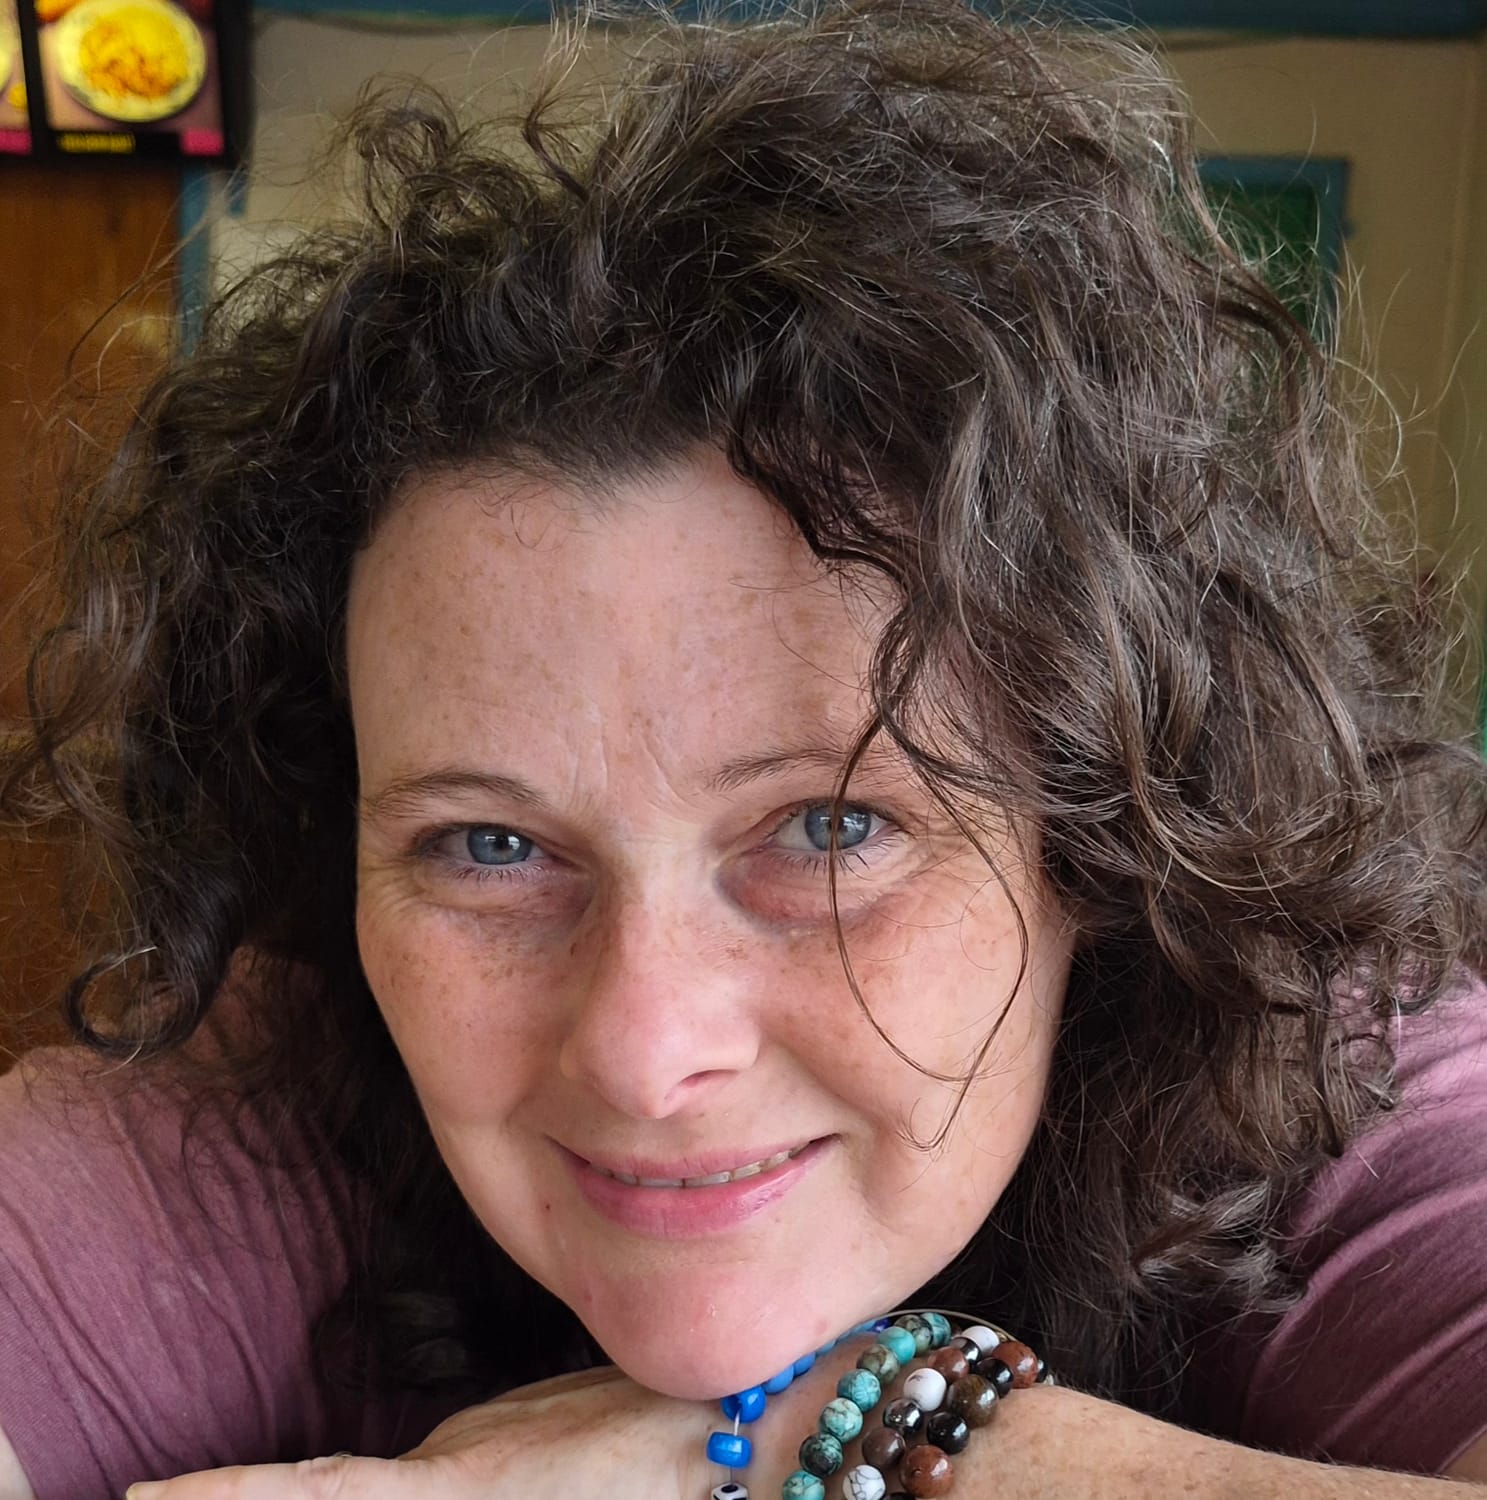
HEY, I’M MELISSA…
Hi, I'm Melissa—the creator behind Naturally, MelissaMade, founder of The Hook Nook, and dreamer of the Purple Peacock Bus.
As a homeschooling mom, homesteader, crochet educator, and handmade artisan, I've discovered the incredible power creativity has to bring peace, confidence, and connection.
What began as a simple hobby became my sanctuary, inspiring a business and community dedicated to helping others experience the therapeutic benefits of crochet one stitch at a time.



JOIN MY MAILING LIST

The Hook Nook Chronicles shares crochet tips, inspiration, community stories and creative growth.
912-655-3428
Newsletter
Subscribe now to get daily updates.