Basic Granny Square
Learning the granny cluster square is a major milestone because it opens up a whole world of cozy projects, from classic afghans to retro cardigans. This stitch pattern relies on groups of three double crochets worked into the spaces created by the previous row, giving you that beautiful, airy texture that works up incredibly fast. Once you find your rhythm with the tension and the corner spaces, you will be able to zone out and watch your square grow stitch by stitch.
Materials Needed
Your current project yarn: Any weight works, but a smooth worsted weight is perfect for practicing.
A matching hook: Check your yarn label for the recommended size to keep your stitches neat.
Tapestry needle and scissors: For weaving in those ends when your square is complete.
The Stitch Breakdown
Before jumping into the full pattern, there are just a couple of basic stitches you need to know.
Chain (ch): Yarn over, pull through loop.
Double Crochet (dc): Yarn over, insert hook into the specified space, yarn over, pull up a loop (three loops on hook). Yarn over, pull through first two loops. Yarn over, pull through remaining two loops.
Granny Cluster: A group of 3 double crochets worked into the exact same space or opening.
Step-by-Step Pattern : VIDEO
Round 1: Setting the Foundation
Start with a Magic ring OR a slip knot and chain 4. Join with a slip stitch to the very first chain to form a tiny ring. (Alternatively, you can start with a magic ring if you prefer a tighter center).
Chain 3 (this counts as your first double crochet).
Work 2 double crochets into the center of the ring. This completes your very first granny cluster.
Chain 2 to create your first corner space.
Work 3 double crochets into the ring (second cluster), then chain 2.
Work 3 double crochets into the ring (third cluster), then chain 2.
Work 3 double crochets into the ring (fourth cluster), then chain 2*.
Join with a slip stitch to the top of that initial chain 3. You should now have a tiny square with 4 clusters and 4 corner spaces.
*Please note that I CH1 then make a SC into the top CH of the beginning CH3 , then work my next 2 DC around the SC. If you do this skip to next * Join every round in this manner.
Round 2: Building the Corners
Slip stitch across the tops of the next two stitches until you reach the first chain-2 corner space.
*Chain 3 (counts as your first double crochet), then work 2 double crochets into that same corner space.
Chain 2, then work another 3 double crochets into that same corner space. You just created your first new corner shell.
Chain 1 to bridge the gap, then move to the next corner space.
Work (3 double crochets, chain 2, 3 double crochets) all into the second corner space. Chain 1.
Repeat this exact sequence for the third and fourth corners.
*After your last chain 1, join with a slip stitch to the top of the initial chain 3.
Please note that I CH1 then make a SC into the top CH of the beginning CH3 , then work my next 2 DC around the SC.
Round 3: Filling in the Sides
Slip stitch your way to the nearest corner space.
*Work your corner shell: (chain 3, 2 double crochets, chain 2, 3 double crochets) all into the corner space. Chain 1.
Now you will see a straight side space created by the chain-1 from the previous round. Work a single granny cluster (3 double crochets) right into that side space. Chain 1.
Move to the next corner and work your corner shell: (3 double crochets, chain 2, 3 double crochets). Chain 1.
Repeat this pattern all the way around, placing corner shells in the corners and single granny clusters in the side spaces, always separating them with a chain 1.
*Join with a slip stitch to the top of the initial chain 3.
Please note that I CH1 then make a SC into the top CH of the beginning CH3 , then work my next 2 DC around the SC.
Finding Your Rhythm
As you continue adding rounds, the corners will always stay the same, but the number of side spaces will grow. Just remember to put a corner shell in every corner, a single granny cluster in every side space, and keep those chains between them consistent to prevent your square from curling up or ruffling.
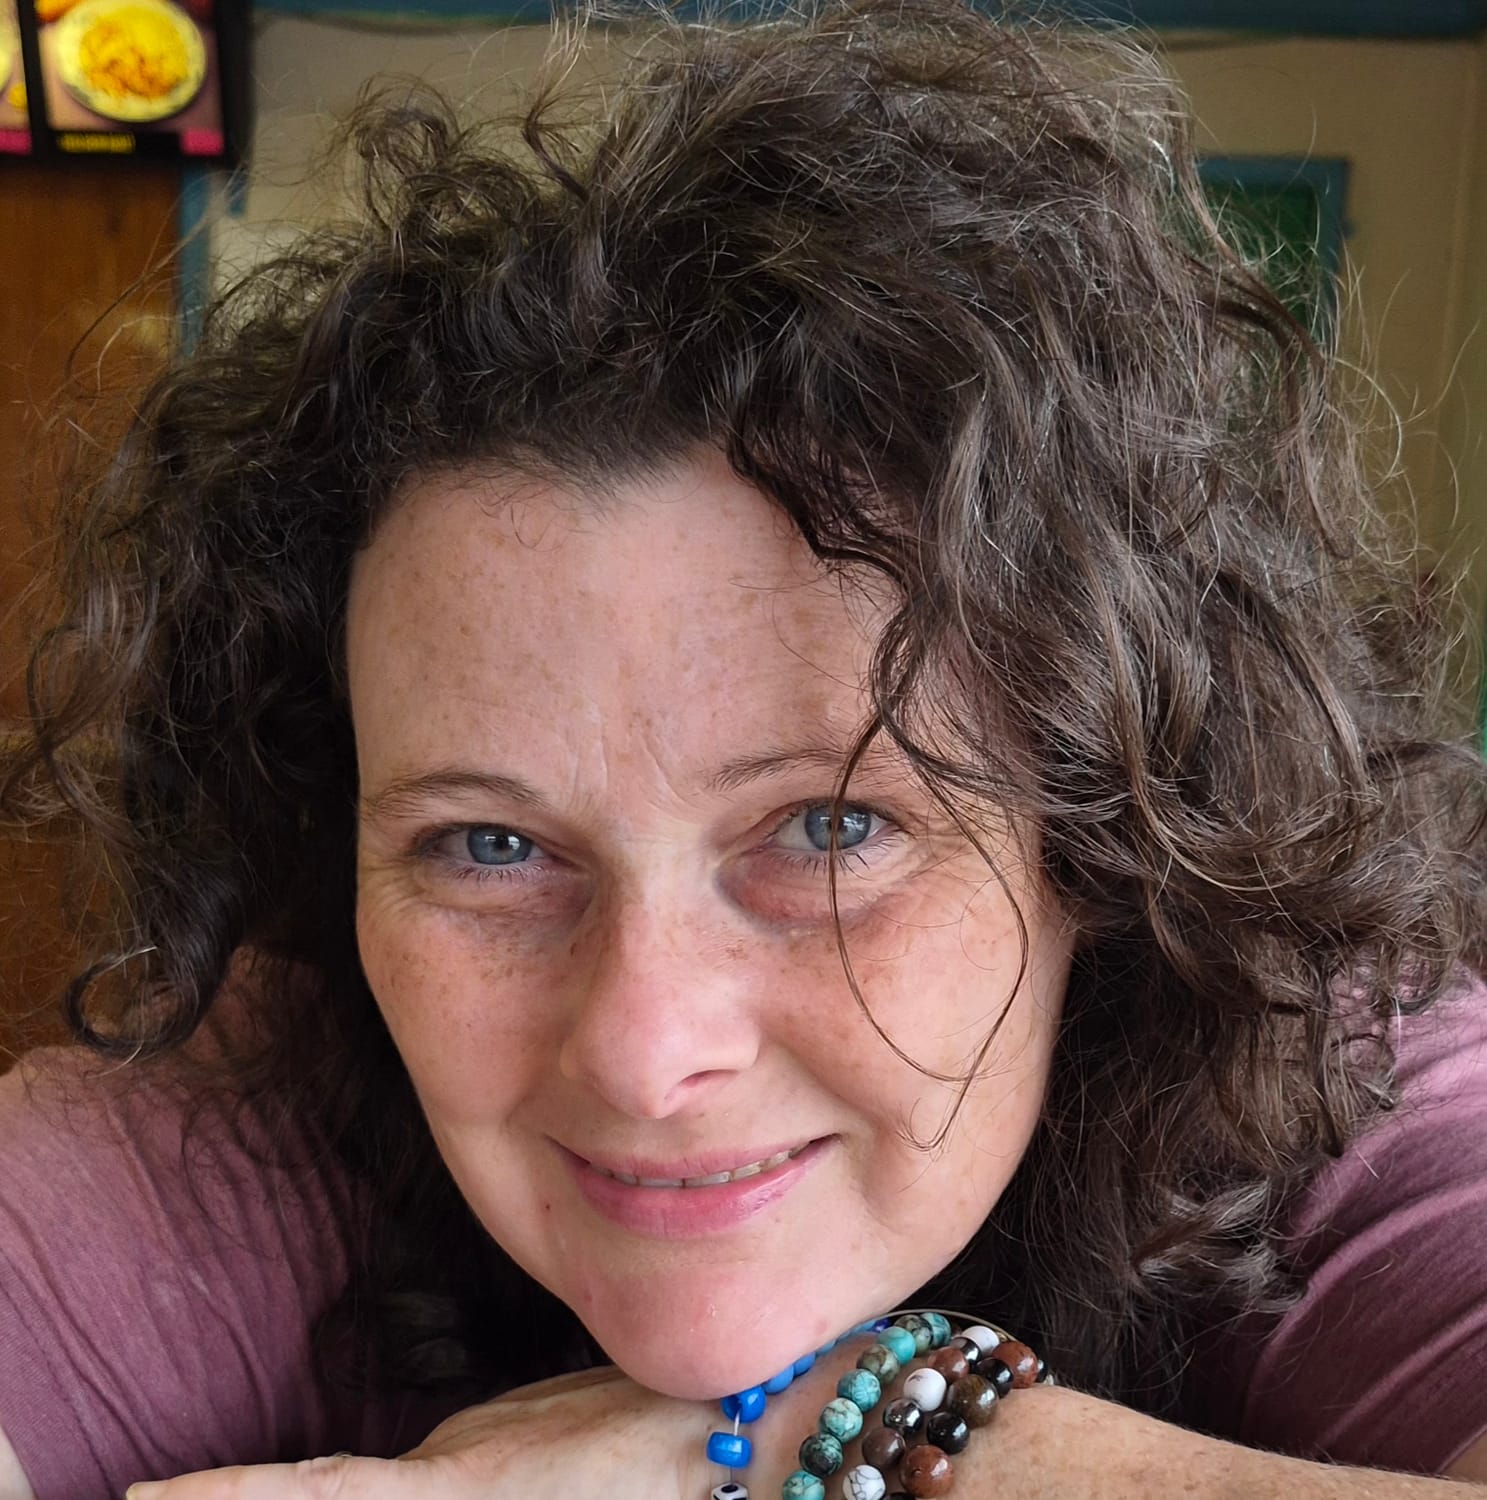
HEY, I’M MELISSA…
Hi, I'm Melissa—the creator behind Naturally, MelissaMade, founder of The Hook Nook, and dreamer of the Purple Peacock Bus.
As a homeschooling mom, homesteader, crochet educator, and handmade artisan, I've discovered the incredible power creativity has to bring peace, confidence, and connection.
What began as a simple hobby became my sanctuary, inspiring a business and community dedicated to helping others experience the therapeutic benefits of crochet one stitch at a time.



JOIN MY MAILING LIST
The Hook Nook Chronicles shares crochet tips, inspiration, community stories and creative growth.
912-655-3428
Newsletter
Subscribe now to get daily updates.